Angling Your Ivory


Alternative ivory propped up on a pen and held in place with a piece of masking tape with the sticky side out. The angle reflects the polished surface into the low power microscope's aperature
A 30 degree angle is sufficient to reflect the light (an LED bulb) into the aperature of the low-power microscope. The loose loop of masking tape holds the pen inside and props it up just right.

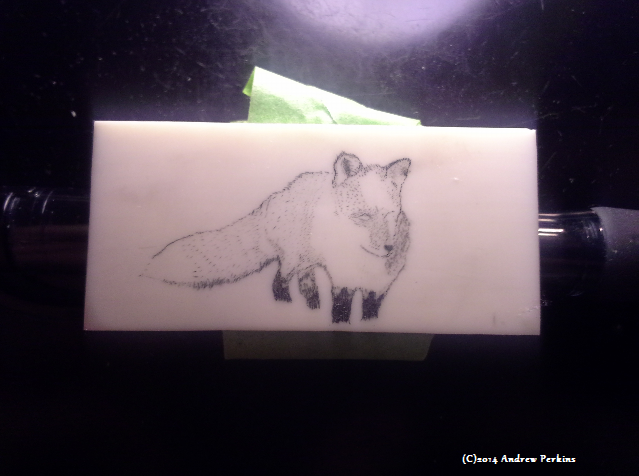
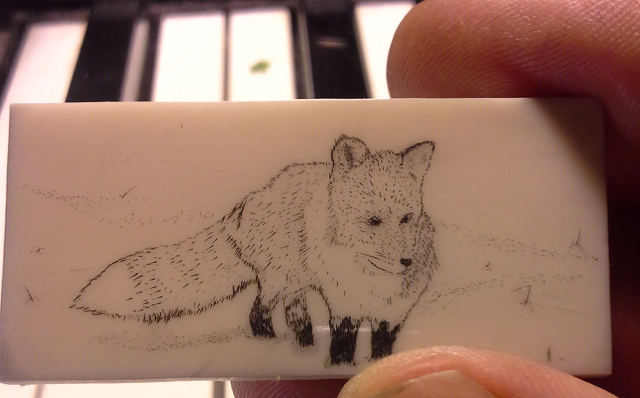
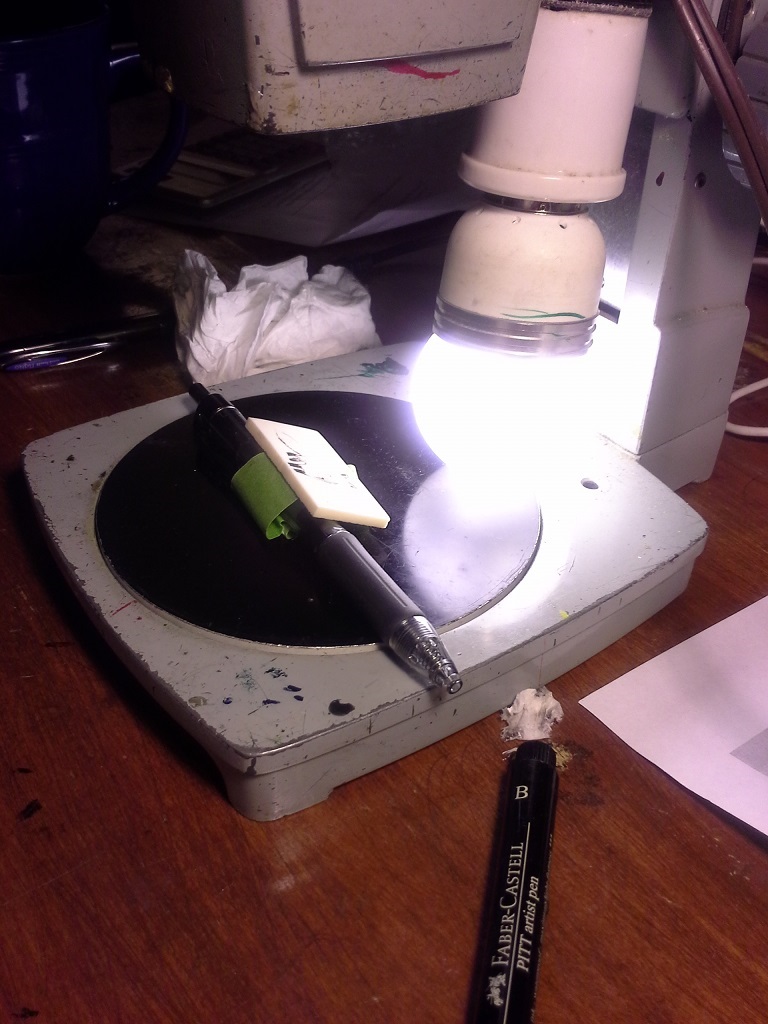
A free-arm microscope and a Brady Block are two tools I’d love to incorporate into my scrimshaw tool set (along with my very own studio), but cost prohibits me from adding these at the moment.  As related in a previous post, the Brady block allows you to turn and angle your material quickly and easily, and a free arm microscope gives you the room to put it underneath. As I’m working with a low-power inspection microscope, my area is limited, as is the angle of the light to the material.

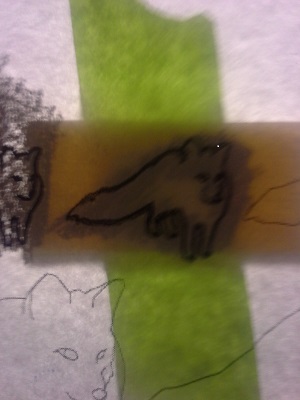
Using a small loose roll of masking tape and a pen, I can angle the material its polished surface reflects my light source, making the scribe lines and stipples much easier to see.

  1. Make a small roll of masking tape with the sticky side out slightly larger than your finger,
  2. Place a pen inside and place it on your microscope table or work surface,
  3. Set your work so you can see it through the microscope and angle it so you see the light source reflected on the material’s surface.

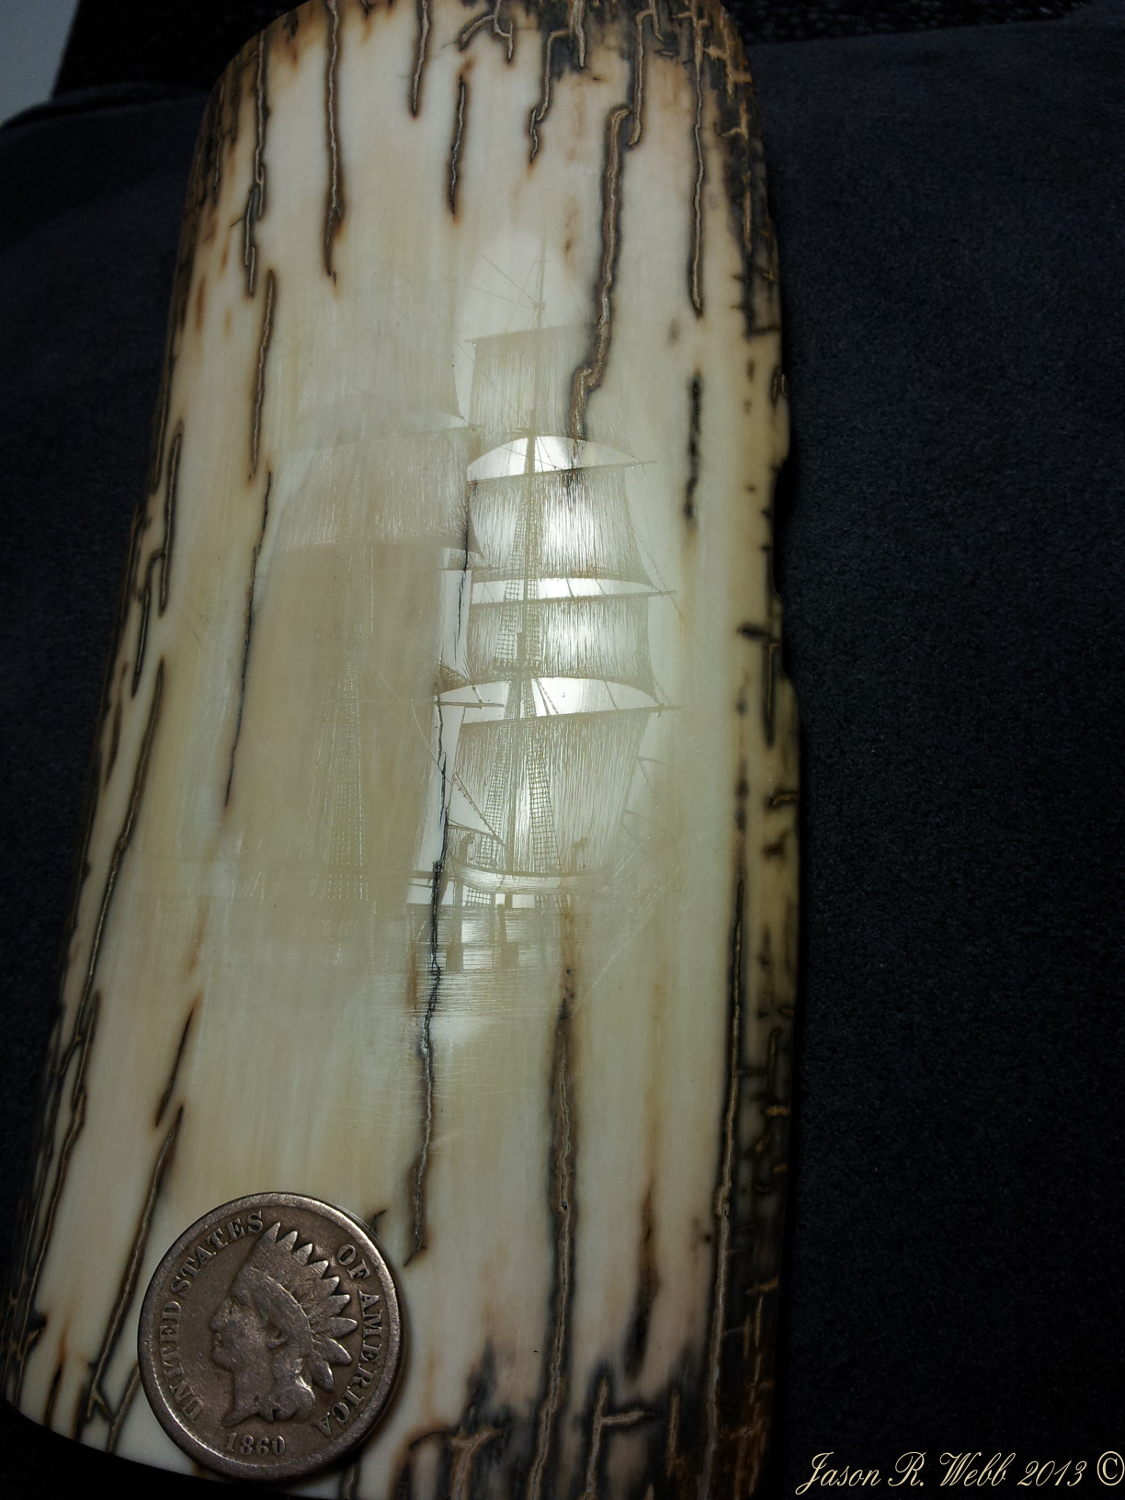
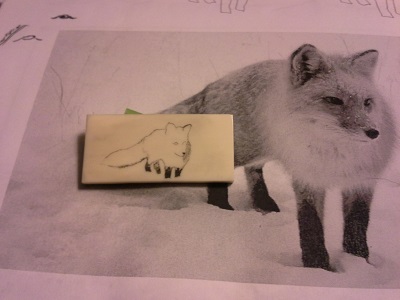
Jason Webb’s photos of his works in progress shows this contrast well. This should also work for anyone using an optivisor.  Another option is to stick your material onto a small hard surface and place a bean bag underneath to prop it up.

Jason Webb's scrimshaw in progress showing the contrast between the reflected light and the scribed lines
Jason’s ship on mammoth ivory showing his light reflected in the polished surface and the scribed lines. Clicking on the image will bring it up to full size.
Posted in FYI

Project: Fox in the Snow – Scrimshaw on Alternative Ivory

Along with testing alternative materials, I get to create pieces of art and refine my techniques. With Alternative Ivory, I’ve been working on a “Fox in the Snow” – a picture by Rob Lee on Flickr.com. This post will be updated and edited as I find interesting information and will pass along any tips and techniques as well.

As stated in the newsletter we found that coating the back of the image to be transferred with an aquarelle pencil then taping the piece to the back of the paper and using the “dot-to-dot” technique on the front pressed the pigment into the material without having to press hard enough to completely pierce the paper. This created smaller dots that were easily seen with magnification but could be ignored during the scrimshaw process and would not detract from the final image.

This is one of the few “furry” scrimshaw pieces I’ve done, mostly working with the more traditional ships and waves, lighthouses and flowers with the occasional loon done on commission. I’m a great fan of Katherine Plumer, who can capture dogs, cats, bears – you name it with such realism that I am in constant awe.  She created a piece with a dog and showed the progression, saving the eyes for last. I’ve got the eyes of the fox “sketched” in where I think they need to be but I’m also saving them for last. “Romeo” in progress, and “Romeo” finished shows a level of artistry and technique I hope to attain (it’s in my bucket list).

So, here’s the progress so far:

Picture of the fox printed on paper with the underside scribbled over with an aquarelle pencil, the alt ivory taped to the bottom with green masking tape.
The paper is on top, the back has been scribbled on with an aquarelle pencil. The alternative ivory is the next layer, then the tape. Picture taken with light behind the paper.
After removing the paper from the alternative ivory that had the underside coated by scribbleing with an aquarelle pencil, the dots are easily visible and not as deep.
After creating the “stipple dots” with the pigment underneath, the dots are easily seen and the dots are much smaller.


Fox scrimshaw on alternative ivory - photo by Rob Lee on Flickr.com
It’s cold in the snow, so I went ahead and put his boots on…
scrimshaw of a fox in the snow on alternative ivory in progress as of 2014-05-31
Filled in the darker fur and some of the ear details.
Fox in the snow in progress 2014-06-01
2014-06-01 Added the eyes and more detail, looked at the pic and realized it needs more shading

Scrimshaw for Young People

Picachu scrimshaw on acrylic teardropMy daughter wanted a Pokemon scrimshaw necklace. Figuring she would be wearing it onto the water, taking it off and leaving it someplace by accident, etc., I made it on a piece of white acrylic. This material has its challenges when it comes to coloring. Being a plastic, inks other than black tend to wash away very easily and don’t adhere in the scribed lines. So how do you make the pigment stay? My first solution was to let the ink dry completely then rub off the ink on the polished surface, which left very little ink on the body (the transparent yellow ink does not work well on acrylic, but works great on ivory, bone and tagau nut). The second solution worked, though: using a high quality artist’s colored pencil, I filled in the scribed lines again and wiped away the excess. The color stayed quite well, though just for safe measure I have since given it three coats of clear gloss spray varnish.
Since it’s acrylic, acrylic paint may work as well. Since she’d like another one, complete with each of it’s evolved variations (what have I gotten myself into?!), we’ll try some acrylic paint on the next one to see how that holds up. Oh yes… her friend’s birthday is coming up too…

Scrimshaw on Film

An interesting film on the art of scrimshaw. Only 11 minutes long, it’s professionally shot featuring Brian Kiracofe from Newport, Rhode Island. He tells the history of scrimshaw as he works on a miniature piece of scrimshaw.  He mentions his concern about the ivory ban well into it as well.

Identifying Ivory

I was set to create a long post about identifying ivory (there are many different types – just ask the tooth fairy) when I found this excellent pdf by CITES.org: http://www.cites.org/sites/default/files/eng/resources/pub/E-Ivory-guide.pdf.

The pdf is in black and white. Here are a couple of full color examples of pre-embargo elephant ivory, mammoth ivory and a “vegetable ivory” cross-cuts showing the Schreger lines in the ivories and the lack of them in the plant alternative (clicking on the image brings it up to full size):

Elephant Ivory Chunk from pre-embargo ivory showing Schreger lines


Mammoth ivory showing Schreger lines
Mammoth ivory showing Schreger linesMammoth ivory


Ivory nut whole, halved and quartered